How to make screenshot on Windows
Introduction
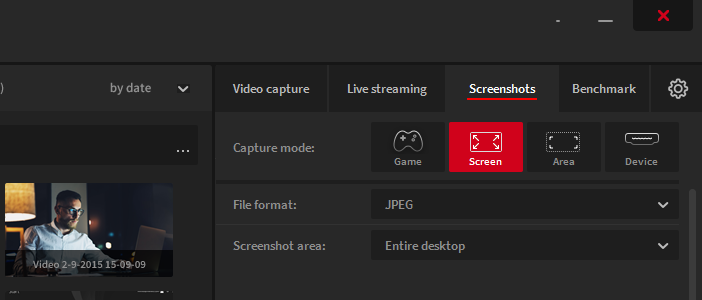
Action! Allows you to take screenshots of your Windows desktop/screen easily and save them as BMP, PNG or JPEG images in specified output directory.
Action! provides two different methods of making screenshots on Windows:
- making fullscreen Windows screenshots
- making screenshots of selected Windows screen area
Making Screenshot on Windows using fullscreen method
To make a fullscreen screenshots please run Action! Application and minimize it. Now press the F12 hotkey to make a screenshot of your Windows screen.
Making Screenshots on Windows using Active Desktop Region / Area method
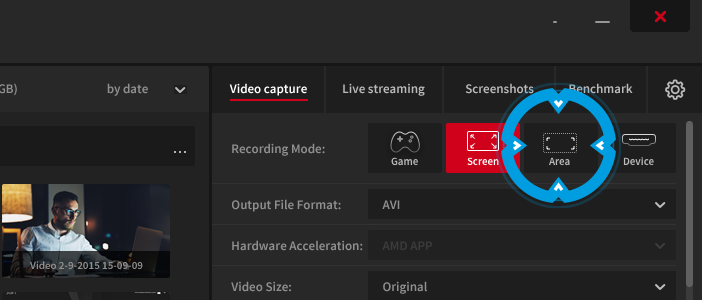
The active desktop region/area method is more suitable for taking screenshot on windows if you want to capture a specific area of your Windows desktop / screen. To make a screenshot of selectred Windows screen area open Action! Application, open Video capture/recording tab and select the Active Desktop Region/Area recording mode.
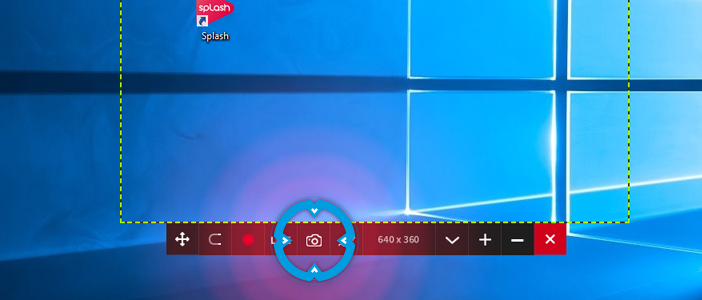
This will show a new Action! Window with possibility to select a specified Windows screen area. You can adjust the active screenshot area using the mouse cursor and arrows on the keyboard.
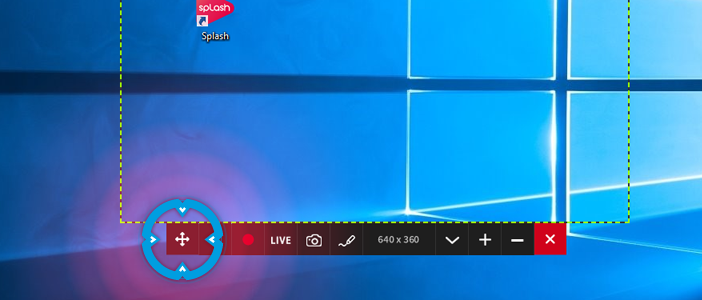
Once you have adjusted the active region to meet your requirements, press the “Capture Screenshots” button to make a screenshot of the selected Windows screen area.