How to add custom frames and shadows to webcam videos
Introduction
Learn how to add custom frames for webcam videos in your gameplay and Windows screen recordings with Mirillis Action! overlay graphics.
Setup webcam settings
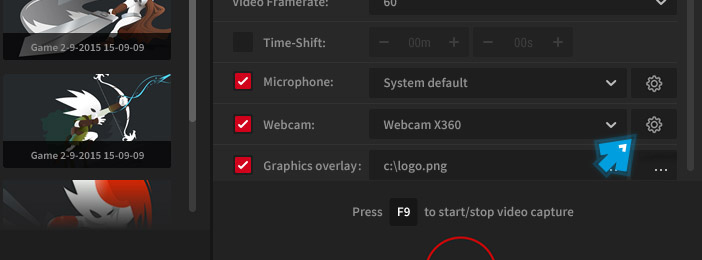
First, before we start to create overlay graphics with custom frames or shadows, we need to setup webcam size and position. To setup webcam recording settings please open Action! Video capture tab, enable Webcam recording option and click Webcam Settings button.

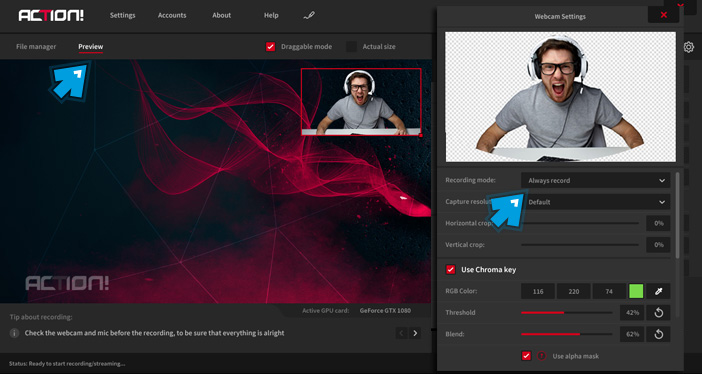
Set up your webcam using options available in Webcam Settings window. Open Action! Preview and use mouse to set your webcam position and size.

Create a graphic file with frame or shadow
Use your favorite graphics editor and create a PNG file with frame, shadow or any other graphics you would like to add around your webcam picture. Please note that webcam picture will be added over overlay graphics.

Setup overlay graphics settings
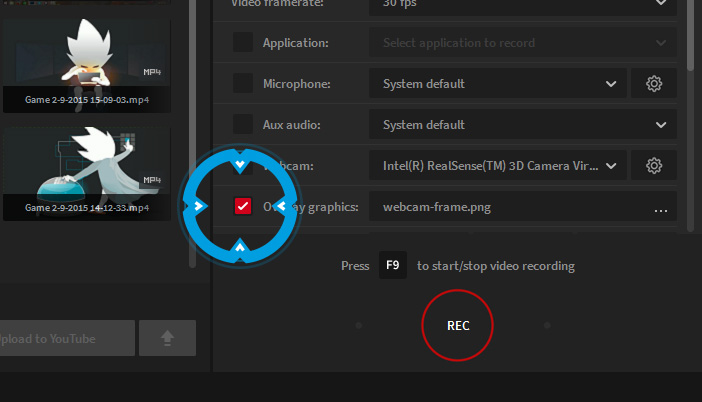
Make sure to enable Overlay graphics option, select your PNG file as Input file and set correct overlay graphics position using Action! Preview area.

Make a test video recording
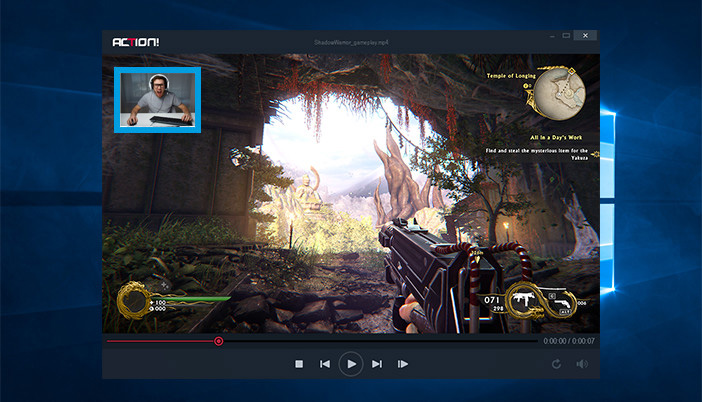
Make a test desktop or gameplay recording to check if your overlay graphic is placed correctly.
